
Apple Music Converter
![]() Home >Apple Music Tips > Save Apple Music to Mac
Home >Apple Music Tips > Save Apple Music to Mac
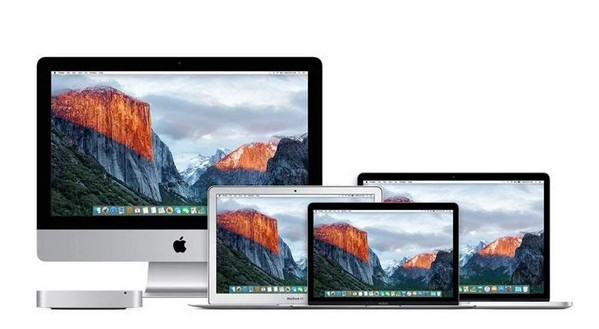
Compared with Windows, Mac has a specific operating system manufactured by Apple Inc., known as Mac OS. It is easier for users to run programs and devices, and access to the Internet. It implements synchronous upload and update data between your Apple devices when sign in with the same Apple ID. So you can sync your Apple Music files, pictures and documents from your iPhone to your Mac directly and timely.
However, all Apple Music are protected, that means any music from it can only be played on Apple Music app or other authorized devices. If you want to download and save these music files forever and listen to the music on any other devices you have, you can save the files to Mac and then transfer them to other media devices you have. Here we give you a suggestion about how to save Apple Music to Mac, then you can listen to the music when you are no longer paying the subscription.

Since Apple Music is a music streaming service, Apple Music is unavailable to users when subscription expired. We have to find a solution so that we can record and save the music offline.
Apple Music Converter can help to deal with this problem. It is a professional software that can transfer Apple Music to MP3, AAC, AIFF, FLAC, WAV, and keeps the original ID3 tags after converting. It is highly compatible with macOS 10.15, Windows 11, and above. With Apple Music Converter, you can not only listen to Apple Music on Mac, but also transfer music to other media devices, and play it anywhere you want.
Before starting, please download and install the latest version of the program. Then, launch the program, click on "Open Apple Music Web Player", and follow the indication to sign in with your Apple ID.
Step 1Set the Output Format
Click the button ![]() , you can set the output formats and path, choose audio quality and so on.
, you can set the output formats and path, choose audio quality and so on.

Step 2Add Apple Music to Apple Music Converter
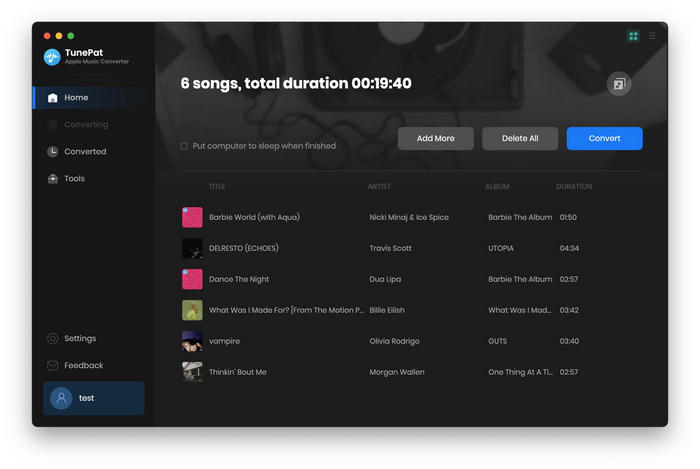
Open a playlist, artist, or album in the program and click on the "Add" button to add music tracks for conversion. You can select the songs within the pop-up dialog if you don't want to convert all of them.

Step 3Start to Convert Apple Music
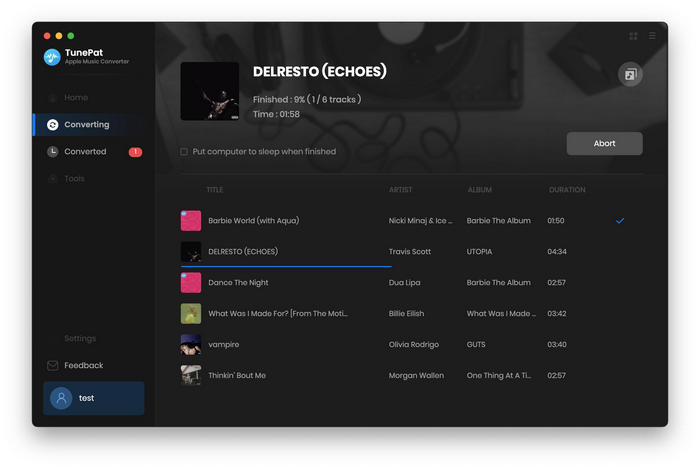
After finishing the two steps above, you can start to convert music by clicking "CONVERT". It will show a process bar during the conversion.

Step 4Find the Music Folder on Mac
When the conversion is finished, you can see the converted music files on the history folder or find the folder on your Mac. Now the songs are saved on your Mac successfully and you can play it offline on any other devices.
According to the instruction above, it is easy to convert Apple Music to normal output formats and save them on Mac.
Note: The free trial version of the TunePat Apple Music Converter enables you to convert the first three minutes of each song and convert 3 music files at a time. If you want to unlock the time limitation, you can purchase the full version of Apple Music Converter from $14.95.
What You Will Need
They're Also Downloading
Hot Tutorials
Topics
Tips and Tricks
What We Guarantee

Money Back Guarantee
We offer a 30-day money back guarantee on all products

Secure Shopping
Personal information protected by SSL Technology

100% Clean and Safe
100% clean programs - All softwares are virus & plugin free