
![]() Home >Apple Music Tips > Tranfer music from Apple Music to USB
Home >Apple Music Tips > Tranfer music from Apple Music to USB
More and more people are listening to streaming music. Apple Music, known for its high-level exclusive releases and full integration into Apple's popular iOS ecosystem, has become one of the best choices for music fans.
However, while enjoying the convenience of the Apple Music, at the same time you also have to face the problems: it seemed impossible to transfer music from Apple Music to USB drive. Why? The reason is because Apple Music songs are cached files so that you are only allow to play them on Apple devices. If you unsubscribe to Apple Music, you are no longer to play any streaming tracks. It also prevents you from transferring Apple Music to USB drive directly.
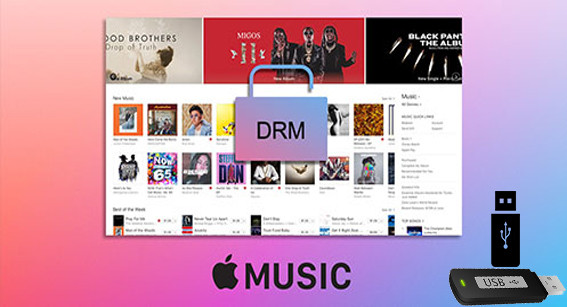
To transfer music from Apple Music to USB drive, Apple Music Converter is strongly recommended for you. It is specially designed for Apple Music subscribers. With it, you can convert Apple Music to common MP3, AAC, AIFF, WAV or FLAC. Thus, you can transfer the converted Apple Music files to your USB drive without any limitation.
>> Learn more about Apple Music Converter >>
Now you can download the trial version of Apple Music Converter and follow the guide below to learn how to convert Apple Music songs with the magic conversion tool so as to transfer the Apple Music files to USB drive easily.
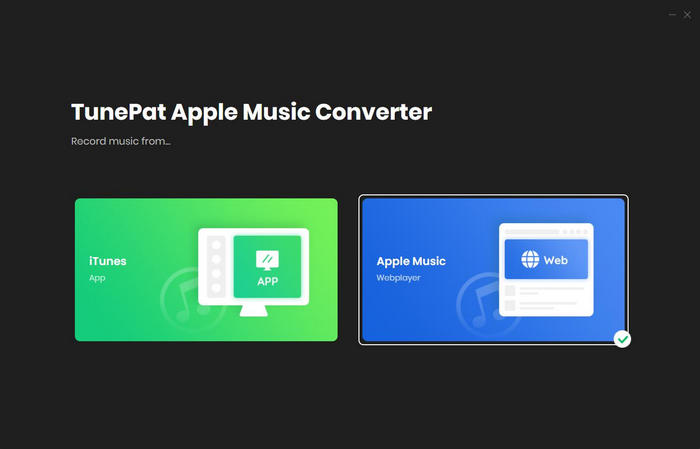
Step 1 Install and Launch Apple Music Converter
Launch Apple Music Converter and click "Open Apple Music Web Player", then you can follow the indicates to log into your Apple ID.
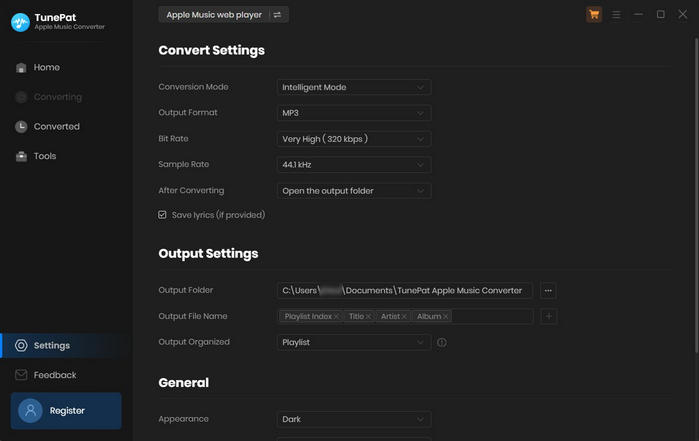
Step 2Set the Output Format
Click the Settings gear icon at the upper right of the program, you can set output format as MP3, AAC, AIFF, WAV or FLAC, and set the output audio quality to the highest 256 kbps.
Step 3Add Apple Music to Apple Music Converter
Choose a playlist, artist, or album and open it, then click the Add button at the bottom right corner. You will see a pop-up dialog that will display all the songs that you can convert. Just select the songs you want to convert.
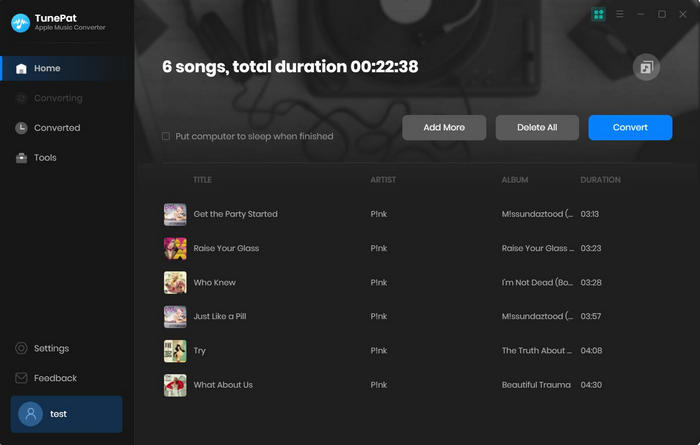
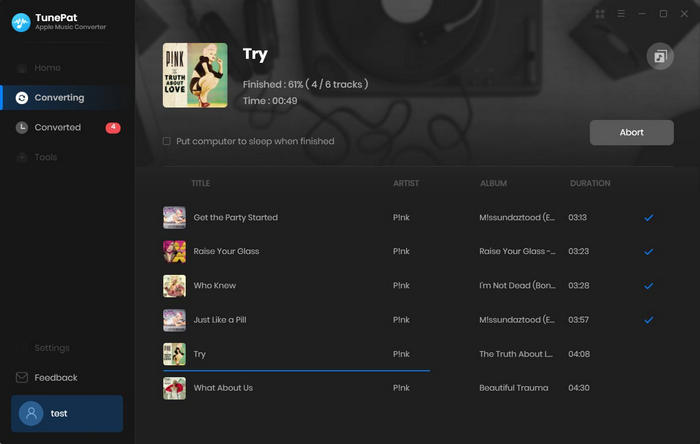
Step 4 Start converting Apple Music songs
Click Convert button, the Apple Music conversion process will start. After the conversion process is finished, you can click History button to check the converted Apple Music files.
Step 5Transfer Apple Music to USB drive
Insert the USB drive into a USB port on your computer, select the files on the history folder you want to transfer. Drag the selected songs to the USB Drive on your PC. The copy process will begin and it may take a while. Once the process is finished, eject the USB drive from your computer. Now you have transferred Apple Music to your USB drive successfully.
What You Will Need
They're Also Downloading

Hot Tutorials
Topics
Tips and Tricks
What We Guarantee

Money Back Guarantee
We offer a 30-day money back guarantee on all products

Secure Shopping
Personal information protected by SSL Technology

100% Clean and Safe
100% clean programs - All softwares are virus & plugin free


